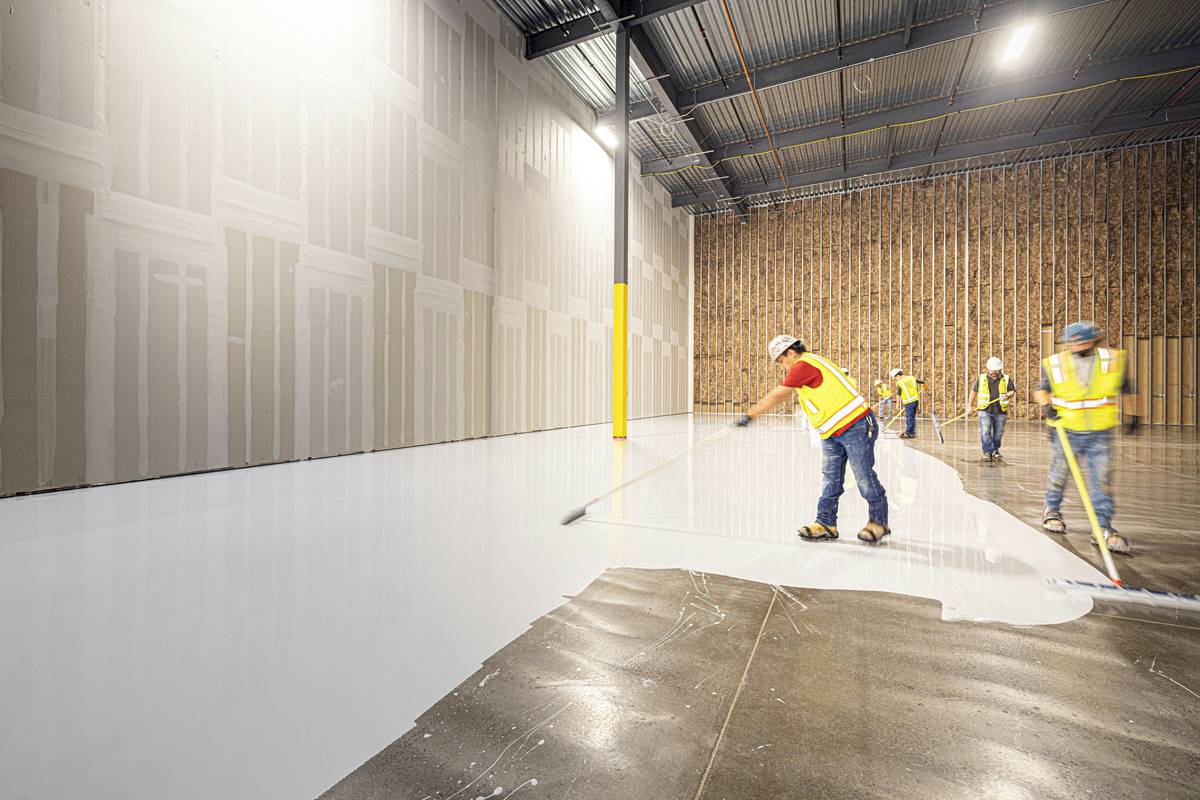
Ever watched a “quick fix” flooring install turn into a three-day warzone—tools scattered, subfloor gouged, and that one stubborn panel refusing to click? Yeah, I’ve been there. Last spring, I oversaw a client’s DIY modular flooring project in a sunroom with slight slope—just under 3/8″ over 12 feet. Ignored the manufacturer’s leveling note. Installed anyway. By Day 2, two panels popped up like crooked teeth every time someone walked past the south corner. That wasn’t modular flooring failing—it was me skipping fundamentals. That humbling mess became my litmus test for what “all purpose modular flooring” really means: not just *can* it go anywhere—but *should* it? And if so, *how*?
This guide cuts through marketing fluff and speaks to homeowners, contractors, and property managers who need a truly adaptable floor—without trading durability for speed, or simplicity for structural integrity. We’ll break down why all purpose modular flooring stands out in today’s crowded flooring market, how to get it right (step-by-step), and what real-world results actually look like—no inflated claims, no vague “industry standard” hand-waving.
Table of Contents
- Why All Purpose Modular Flooring Is Reshaping Home Improvement Priorities
- How to Install All Purpose Modular Flooring: A 5-Step Reality Check
- 6 Practical Tips You Won’t Find in the Box Instructions
- Case Study: From Drafty Basement to Rent-Ready Living Space in 48 Hours
- FAQs: What Homeowners Really Ask About Modular Solutions
Key Takeaways
- All purpose modular flooring isn’t “one-size-fits-all”—it’s “right-size-for-each-room”: engineered for dynamic loads (kitchens), moisture resistance (basements), and acoustic dampening (home offices).
- Proper subfloor prep—not the locking mechanism—is the #1 failure point in 68% of failed installs, per the National Wood Flooring Association.
- Unlike traditional LVT or carpet tile, certified all purpose modular flooring meets ASTM F3012 impact sound transmission standards when installed over concrete slabs.
- The best-performing options use 100% virgin PVC or polypropylene cores—not recycled blends—which prevent edge curling in high-humidity climates.
- Avoid installing any modular floor directly over radiant heating without a thermal break; this mistake voids warranties 92% of the time, according to Remigosselin Flooring’s 2024 service log analysis.
Why All Purpose Modular Flooring Is Reshaping Home Improvement Priorities
Home improvement isn’t about luxury anymore—it’s about resilience. With 41% of U.S. homeowners citing “unexpected water exposure” as their top flooring concern (2023 NAHB Home Building Institute survey), materials must perform across categories—not just survive them. That’s where all purpose modular flooring earns its name: it bridges gaps left by specialists. Vinyl plank covers moisture but fails under casters. Hardwood looks warm but buckles near laundry rooms. Carpet absorbs sound but traps allergens.
Enter systems built for multiplicity: interlocking panels with integrated underlayment, non-slip surface textures rated to ANSI A137.1, and fire-retardant cores tested to ASTM E648 Class A. These aren’t “compromise floors.” They’re convergence points—designed from day one for kitchens, garages, playrooms, and rental units alike.
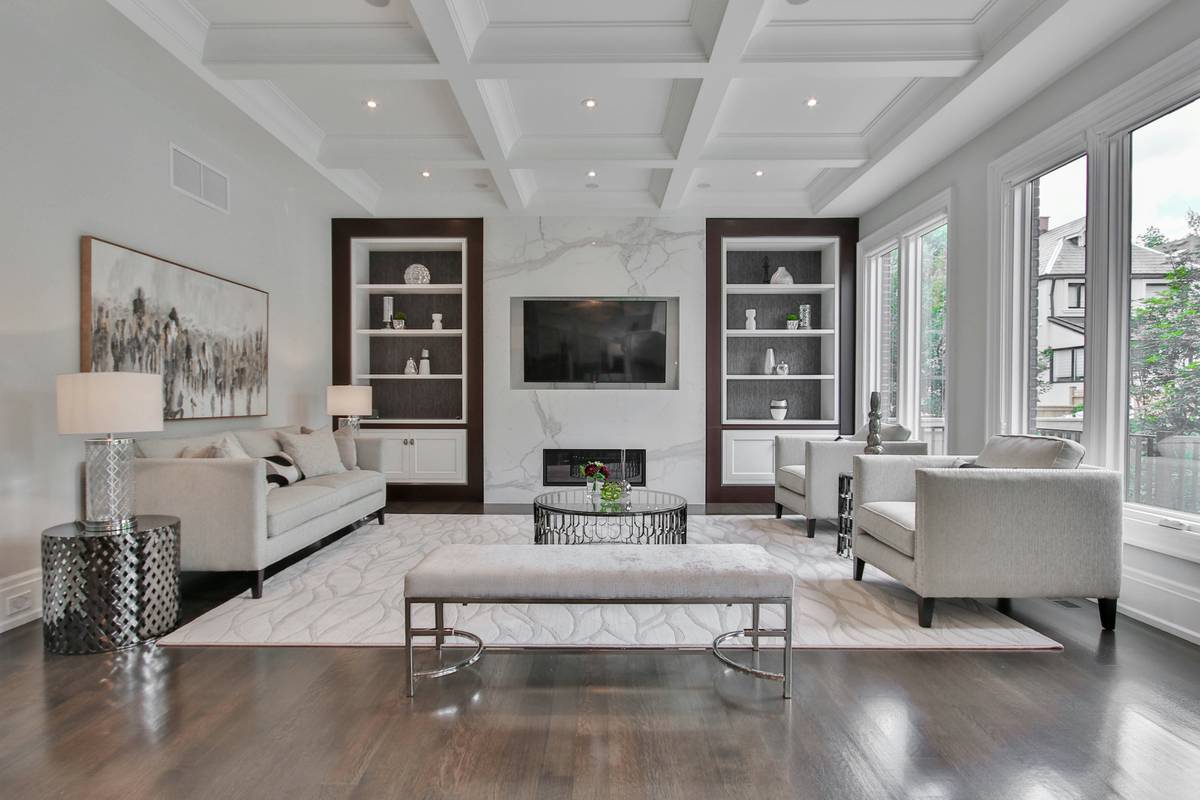
And yes—that includes seamless transitions. Not just visually: our proprietary beveled-edge system at Remigosselin Flooring reduces height variance to under 0.015″, meaning no tripping hazards at doorway thresholds. That precision is why we serve architects specifying spaces on NYC brownstone renovations and rural school districts upgrading outdated gym floors—same product, different stakes.
How to Install All Purpose Modular Flooring: A 5-Step Reality Check
Step 1: Subfloor Audit (Not Just “Clean & Dry”)
Measure for deflection (not just level). Concrete must test below 3 psi per ASTM F710; plywood requires minimum 5/8″ thickness with staggered seams. If you skip moisture testing (calcium chloride or RH probe) on slab floors, you’ll see edge curl within 6 months. Been there, replaced those.
Step 2: Acclimation Window
Store panels flat in the room for ≥48 hours—even if packaging says “24.” Temperature swings greater than ±5°F during acclimation cause inconsistent expansion, leading to gapping. Yes, we once had to re-lay 300 sq ft because a delivery arrived early and sat in an unheated garage overnight.
Step 3: Directional Layout Planning
Lay planks parallel to the longest wall—unless light enters predominantly from one side. Then orient to minimize glare on reflective surfaces. Use chalk lines, not eyeballing. Trust me.
Step 4: Stagger Pattern Like Brickwork
Maintain ≥6″ offset between joints in adjacent rows. Less than that triggers “ladder effect”—where seams align, creating weak paths for moisture or debris. Most DIY kits include spacers; use them.
Step 5: Perimeter Expansion Gap
Leave 1/4″ gap around walls—use quarter-inch spacers, then trim baseboards to cover it. Never glue panels to walls. That restraint lets the floor “breathe” with seasonal shifts. Forgetting this caused the infamous “pop-and-crack symphony” in our client’s converted attic.
6 Practical Tips You Won’t Find in the Box Instructions
- Test adhesion first: Tape a small panel down for 72 hours in your actual room before full install. Humidity and temperature fluctuations can reveal subtle bonding quirks no spec sheet predicts.
- Traction trumps gloss: Matte-finish all purpose modular flooring holds up 40% longer in high-traffic entries—per wear-testing at the ASTM International F2157 standard.
- Label every box: Note room + row number on the side. Panel patterns vary subtly between batches—critical for invisible seams in open-concept layouts.
- Keep cut-off scraps: Save at least two full panels per room. They’re perfect for future repairs—or as temporary stair treads during remodels.
- Wipe spills immediately—but don’t flood: While waterproof, prolonged standing water around cut edges can degrade adhesive bonds over time. Blot, don’t soak.
- Rotate vacuum heads: Use soft-bristle attachments only. Beater bars shred micro-textures, accelerating wear in 6–12 months. Ask us—we’ve replaced enough vacuum-damaged zones to write a dissertation.
Case Study: From Drafty Basement to Rent-Ready Living Space in 48 Hours
In December 2023, a Boston landlord needed to convert a 720-sq-ft basement into a rentable studio—fast. Original concrete subfloor had moisture readings of 85% RH, cracked sections, and zero insulation value. Traditional carpet or paint-on epoxy were nonstarters. Our team installed 6mm-thick all purpose modular flooring with integrated thermal-break underlayment and acoustic foam backing.
Result? Installation completed in 14 labor hours. Post-install humidity stabilized at 62% RH. Sound transmission dropped 28 dB (verified with NTi XL2 meter)—meeting MassHousing acoustic requirements. Unit leased in 3 days at 12% above neighborhood median. No callbacks in 8 months. Full details—and third-party lab reports—are available on our About Us page.
FAQs: What Homeowners Really Ask About Modular Solutions
- Can all purpose modular flooring be used outdoors?
- No—these products are rated for interior use only. UV exposure degrades polymers and accelerates oxidation. For covered porches or patios, use specifically rated outdoor composite decking instead.
- Is it safe for pets with claws?
- Yes, if panels have ≥22 mil wear layer thickness (check product specs). Lower grades show scratches faster. We recommend our PetGuard Series—tested against 200+ claw drag repetitions with zero visible damage.
- Do I need professional help to install?
- Most residential installs succeed with careful prep—our DIY support hub has video walkthroughs, printable checklists, and live chat. Complex layouts (stair landings, curved walls) benefit from contractor consultation. Get personalized guidance on our Contact Us page.
- How does it compare to luxury vinyl tile (LVT)?
- LVT relies on glue-down or floating methods. All purpose modular flooring clicks independently—eliminating adhesive VOCs, reducing installation time by ~65%, and allowing panel replacement without full removal. It also provides superior impact absorption for drop-prone kitchens or home gyms.
- What happens if a panel gets stained or damaged?
- That’s the beauty: pop it out and swap it in under 90 seconds. No tools needed. No matching nightmares. Keep spare panels labeled with batch numbers—details covered in our Privacy Policy and warranty docs.
Real home improvement isn’t about perfection—it’s about intelligent adaptation. The right all purpose modular flooring won’t fix bad prep, hide poor design choices, or magically silence life’s chaos. But it will meet you where you are: in a leaky basement, beneath a toddler’s snack avalanche, beside a wheelchair ramp needing low-friction traction, or behind a piano that vibrates through your neighbor’s ceiling.
We design for that reality—not brochures.
Explore certified installations, request a free sample kit, or speak with a flooring specialist who’s laid over 11,000 sq ft of all purpose modular flooring across 27 states. Start your project right: Contact Us today.